Integrate TiDB Cloud with Airbyte
Airbyte is an open-source data integration engine to build Extract, Load, Transform (ELT) pipelines and consolidate your data in your data warehouses, data lakes, and databases. This document describes how to connect Airbyte to TiDB Cloud as a source or a destination.
Deploy Airbyte
You can deploy Airbyte locally with only a few steps.
Install Docker on your workspace.
Clone the Airbyte source code.
git clone https://github.com/airbytehq/airbyte.git && \
cd airbyte
Run the Docker images by docker-compose.
docker-compose up
Once you see an Airbyte banner, you can go to http://localhost:8000 with the username (airbyte) and password (password) to visit the UI.
airbyte-server      |     ___    _      __          __
airbyte-server      |    /   |  (_)____/ /_  __  __/ /____
airbyte-server      |   / /| | / / ___/ __ \/ / / / __/ _ \
airbyte-server      |  / ___ |/ / /  / /_/ / /_/ / /_/  __/
airbyte-server      | /_/  |_/_/_/  /_.___/\__, /\__/\___/
airbyte-server      |                     /____/
airbyte-server      | --------------------------------------
airbyte-server      |  Now ready at http://localhost:8000/
airbyte-server      | --------------------------------------
Set up the TiDB connector
Conveniently, the steps are the same for setting TiDB as the source and the destination.
Click Sources or Destinations in the sidebar and choose TiDB type to create a new TiDB connector.
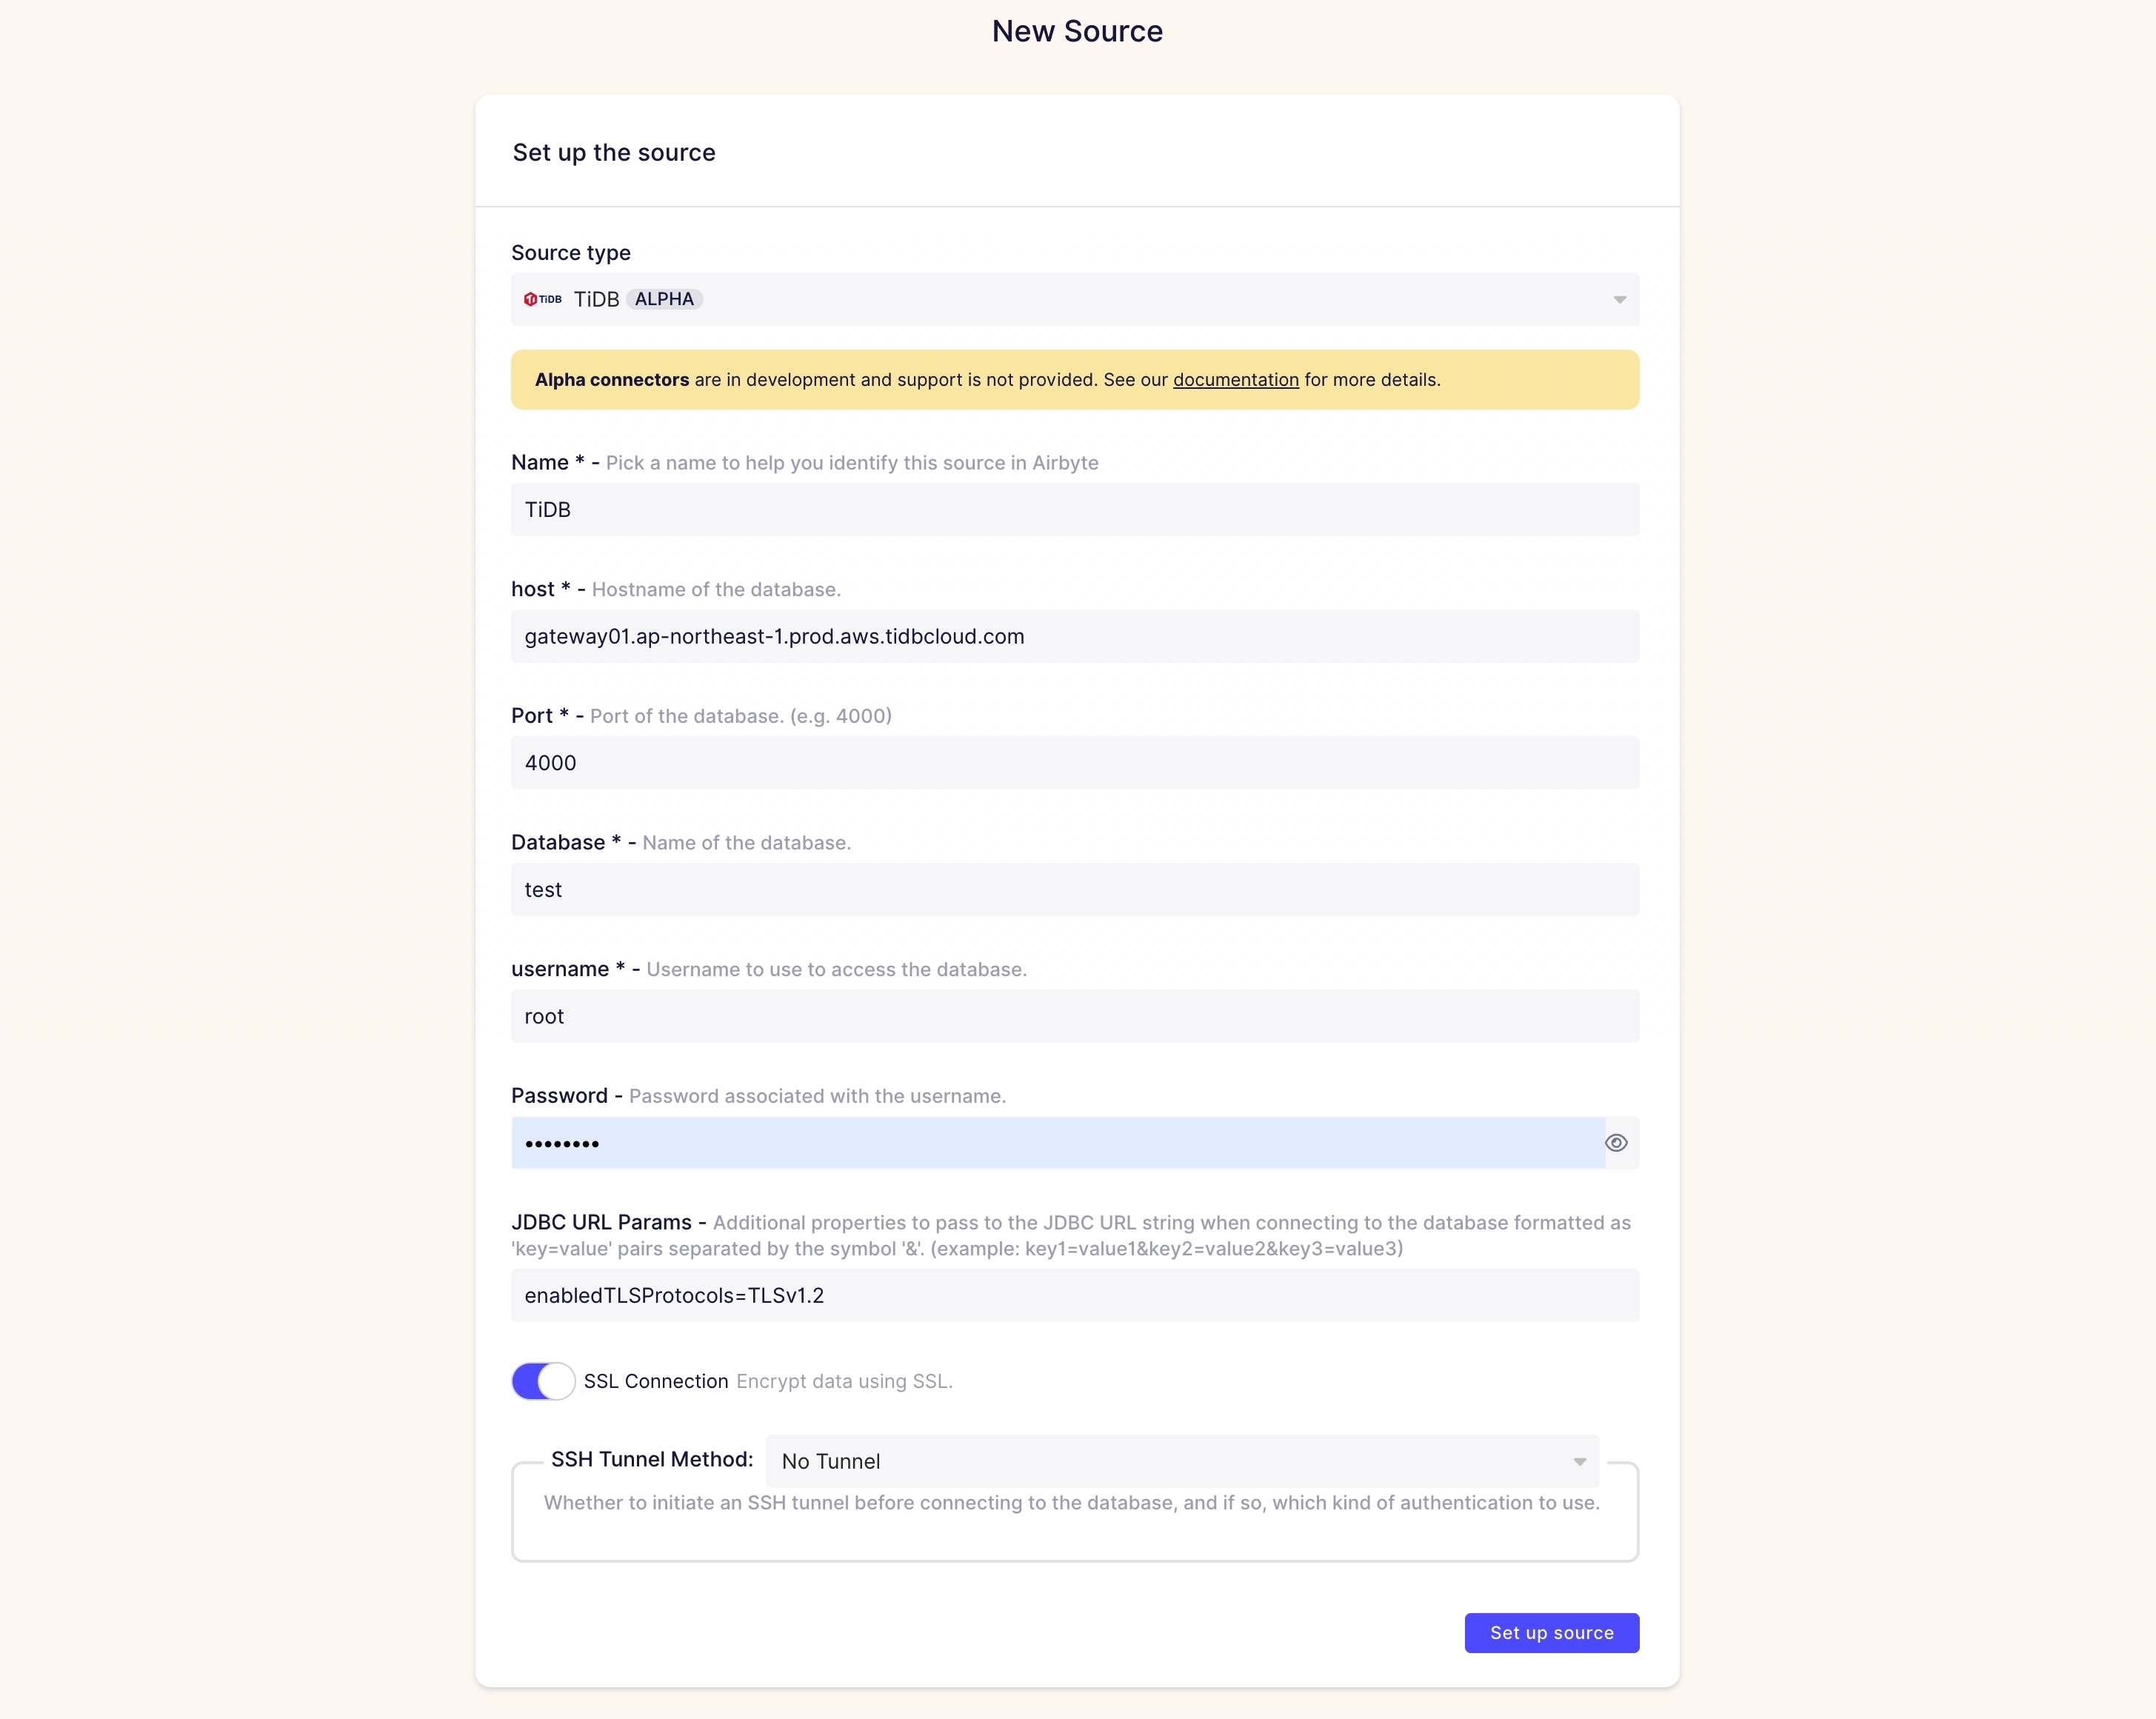
Fill in the following parameters.
- Host: The endpoint of your TiDB Cloud Dedicated cluster
- Port: The port of the database
- Database: The database that you want to sync the data
- Username: The username to access the database
- Password: The password of the username
You can get the parameter values from the connection dialog in the TiDB Cloud console. To open the dialog, go to the My TiDB page, click the name of your target TiDB Cloud Dedicated cluster to go to its overview page, and then click Connect in the upper-right corner.
Enable SSL Connection, and set TLS protocols to TLSv1.2 or TLSv1.3 in JDBC URL Params.
Click Set up source or destination to complete creating the connector. The following screenshot shows the configuration of TiDB as the source.
You can use any combination of sources and destinations, such as TiDB to Snowflake, and CSV files to TiDB.
For more details about the TiDB connector, see TiDB Source and TiDB Destination.
Set up the connection
After setting up the source and destination, you can build and configure the connection.
The following steps use TiDB as both a source and a destination. Other connectors may have different parameters.
Click Connections in the sidebar and then click New Connection.
Select the previously established source and destination.
Go to the Set up connection panel and create a name for the connection, such as
${source_name} - ${destination-name}.Set Replication frequency to Every 24 hours, which means the connection replicates data once a day.
Set Destination Namespace to Custom format and set Namespace Custom Format to test to store all data in the
testdatabase.Choose the Sync mode to Full refresh | Overwrite.

Set Normalization & Transformation to Normalized tabular data to use the default normalization mode, or you can set the dbt file for your job.
Click Set up connection.
Once the connection is established, click ENABLED to activate the synchronization task. You can also click Sync now to sync immediately.

Limitations
- The TiDB connector cannot use the Change Data Capture (CDC) feature provided by TiCDC. The incremental sync is performed based on a cursor mechanism.
- TiDB destination converts the
timestamptype to thevarchartype in default normalization mode. It happens because Airbyte converts the timestamp type to string during transmission, and TiDB does not supportcast ('2020-07-28 14:50:15+1:00' as timestamp). - For some large ELT missions, you need to increase the parameters of transaction restrictions in TiDB.