Migrate from Amazon RDS for Oracle to TiDB Cloud Using AWS DMS
This document describes a step-by-step example of how to migrate data from Amazon RDS for Oracle to TiDB Cloud Starter using AWS Database Migration Service (AWS DMS).
If you are interested in learning more about TiDB Cloud and AWS DMS, see the following:
Why use AWS DMS?
AWS DMS is a cloud service that makes it possible to migrate relational databases, data warehouses, NoSQL databases, and other types of data stores.
If you want to migrate data from heterogeneous databases, such as PostgreSQL, Oracle, and SQL Server to TiDB Cloud, it is recommended to use AWS DMS.
Deployment architecture
At a high level, follow the following steps:
- Set up the source Amazon RDS for Oracle.
- Set up the target TiDB Cloud Starter.
- Set up data migration (full load) using AWS DMS.
The following diagram illustrates the high-level architecture.

Prerequisites
Read the following prerequisites before you get started:
Next, you will learn how to use AWS DMS to migrate data from Amazon RDS for Oracle into TiDB Cloud.
Step 1. Create a VPC
Log in to the AWS console and create an AWS VPC. You need to create Oracle RDS and DMS instances in this VPC later.
For instructions about how to create a VPC, see Creating a VPC.

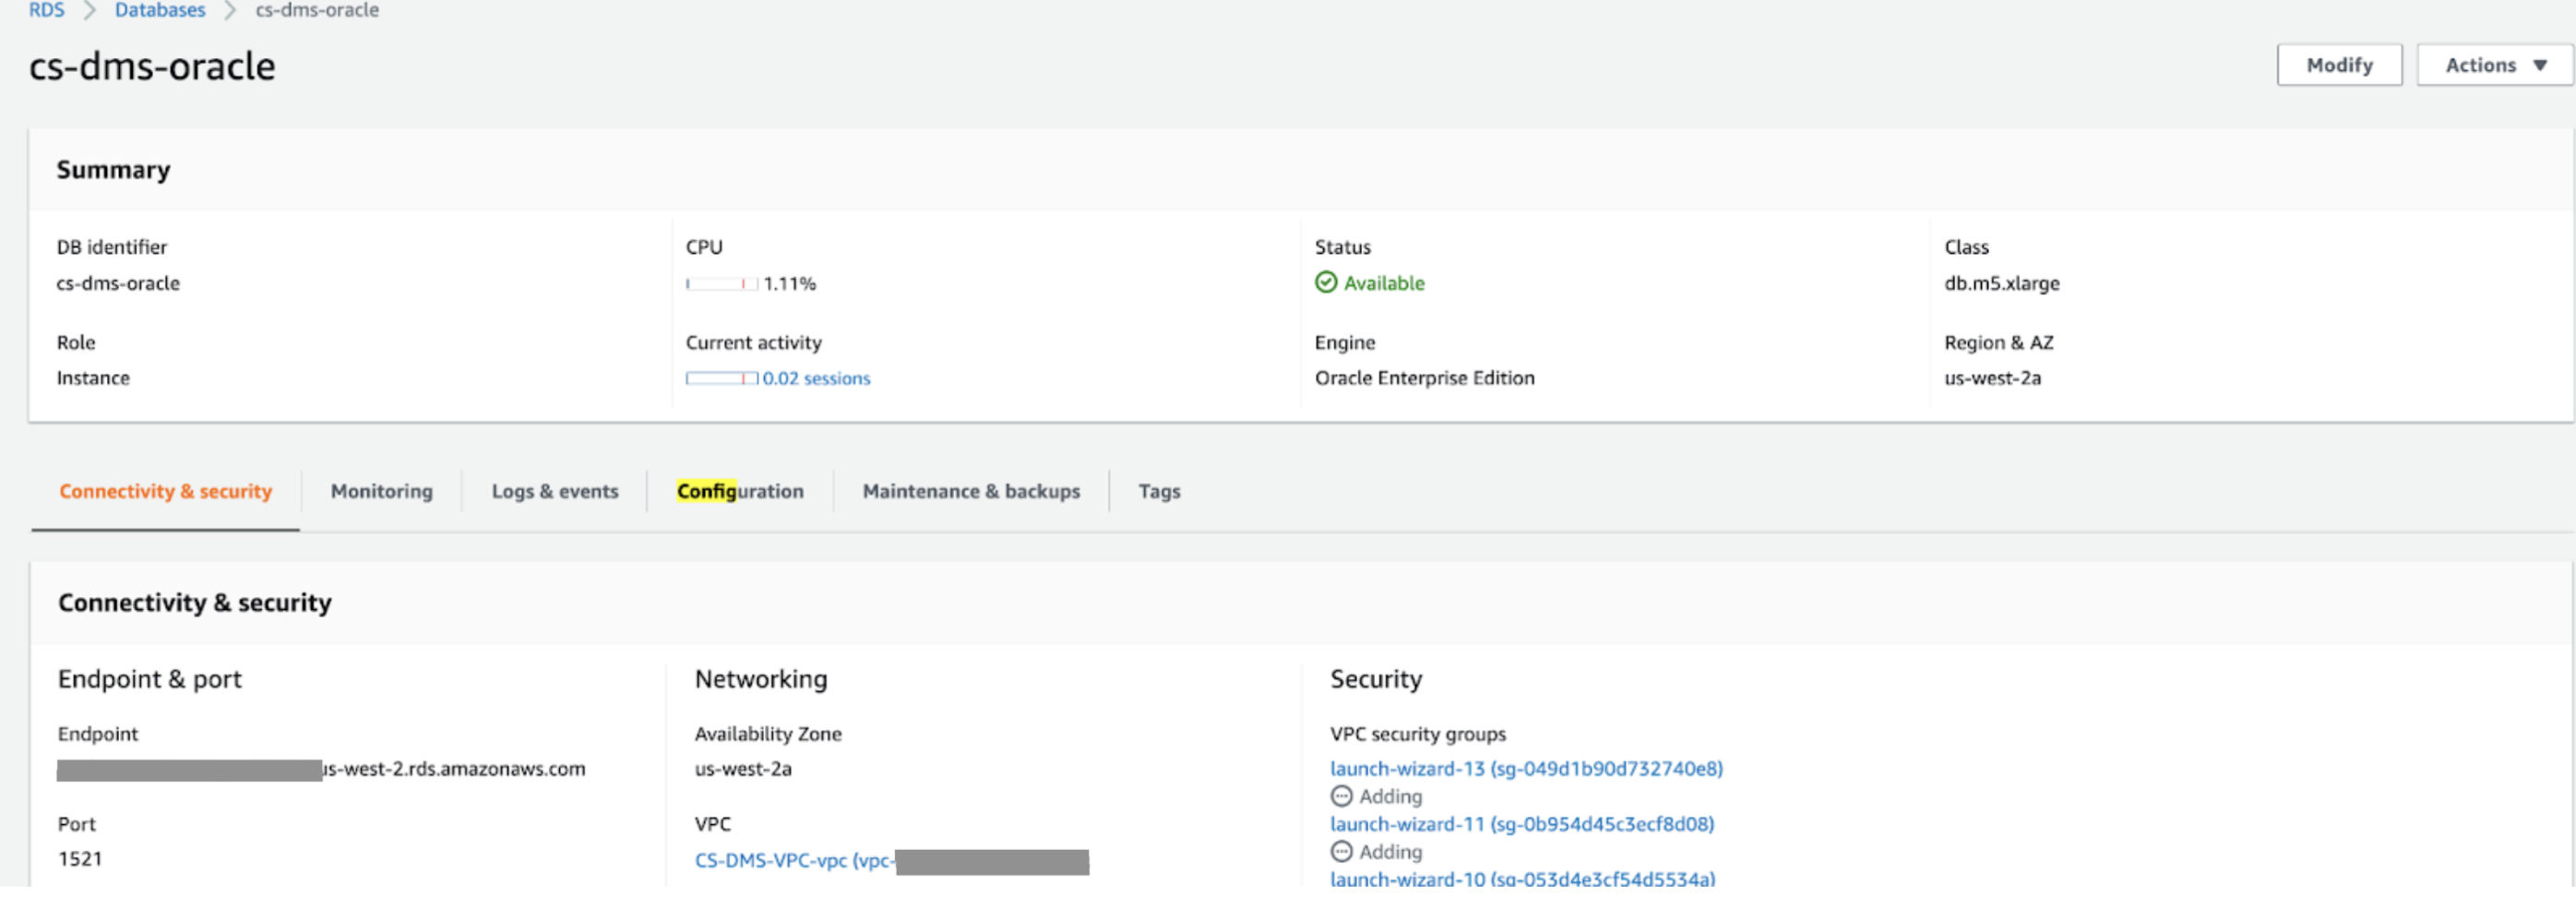
Step 2. Create an Oracle DB instance
Create an Oracle DB instance in the VPC you just created, and remember the password and grant it public access. You must enable public access to use the AWS Schema Conversion Tool. Note that granting public access in the production environment is not recommended.
For instructions about how to create an Oracle DB instance, see Creating an Oracle DB instance and connecting to a database on an Oracle DB instance.
Step 3. Prepare the table data in Oracle
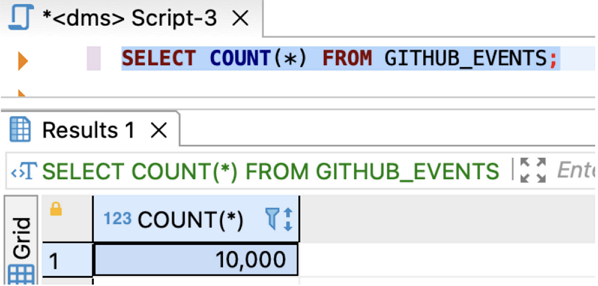
Using the following scripts to create and populate 10000 rows of data in the github_events table. You can use the github event dataset and download it from GH Archive. It contains 10000 rows of data. Use the following SQL script to execute it in Oracle.
After you finish executing the SQL script, check the data in Oracle. The following example uses DBeaver to query the data:
Step 4. Create a TiDB Cloud Starter cluster
Log in to the TiDB Cloud console.
In the Clusters page, click the target cluster name to go to its overview page.
In the upper-right corner, click Connect.
Click Generate Password to generate a password and copy the generated password.
Step 5. Create an AWS DMS replication instance
Go to the Replication instances page in the AWS DMS console, and switch to the corresponding region.
Create an AWS DMS replication instance with
dms.t3.largein the VPC.
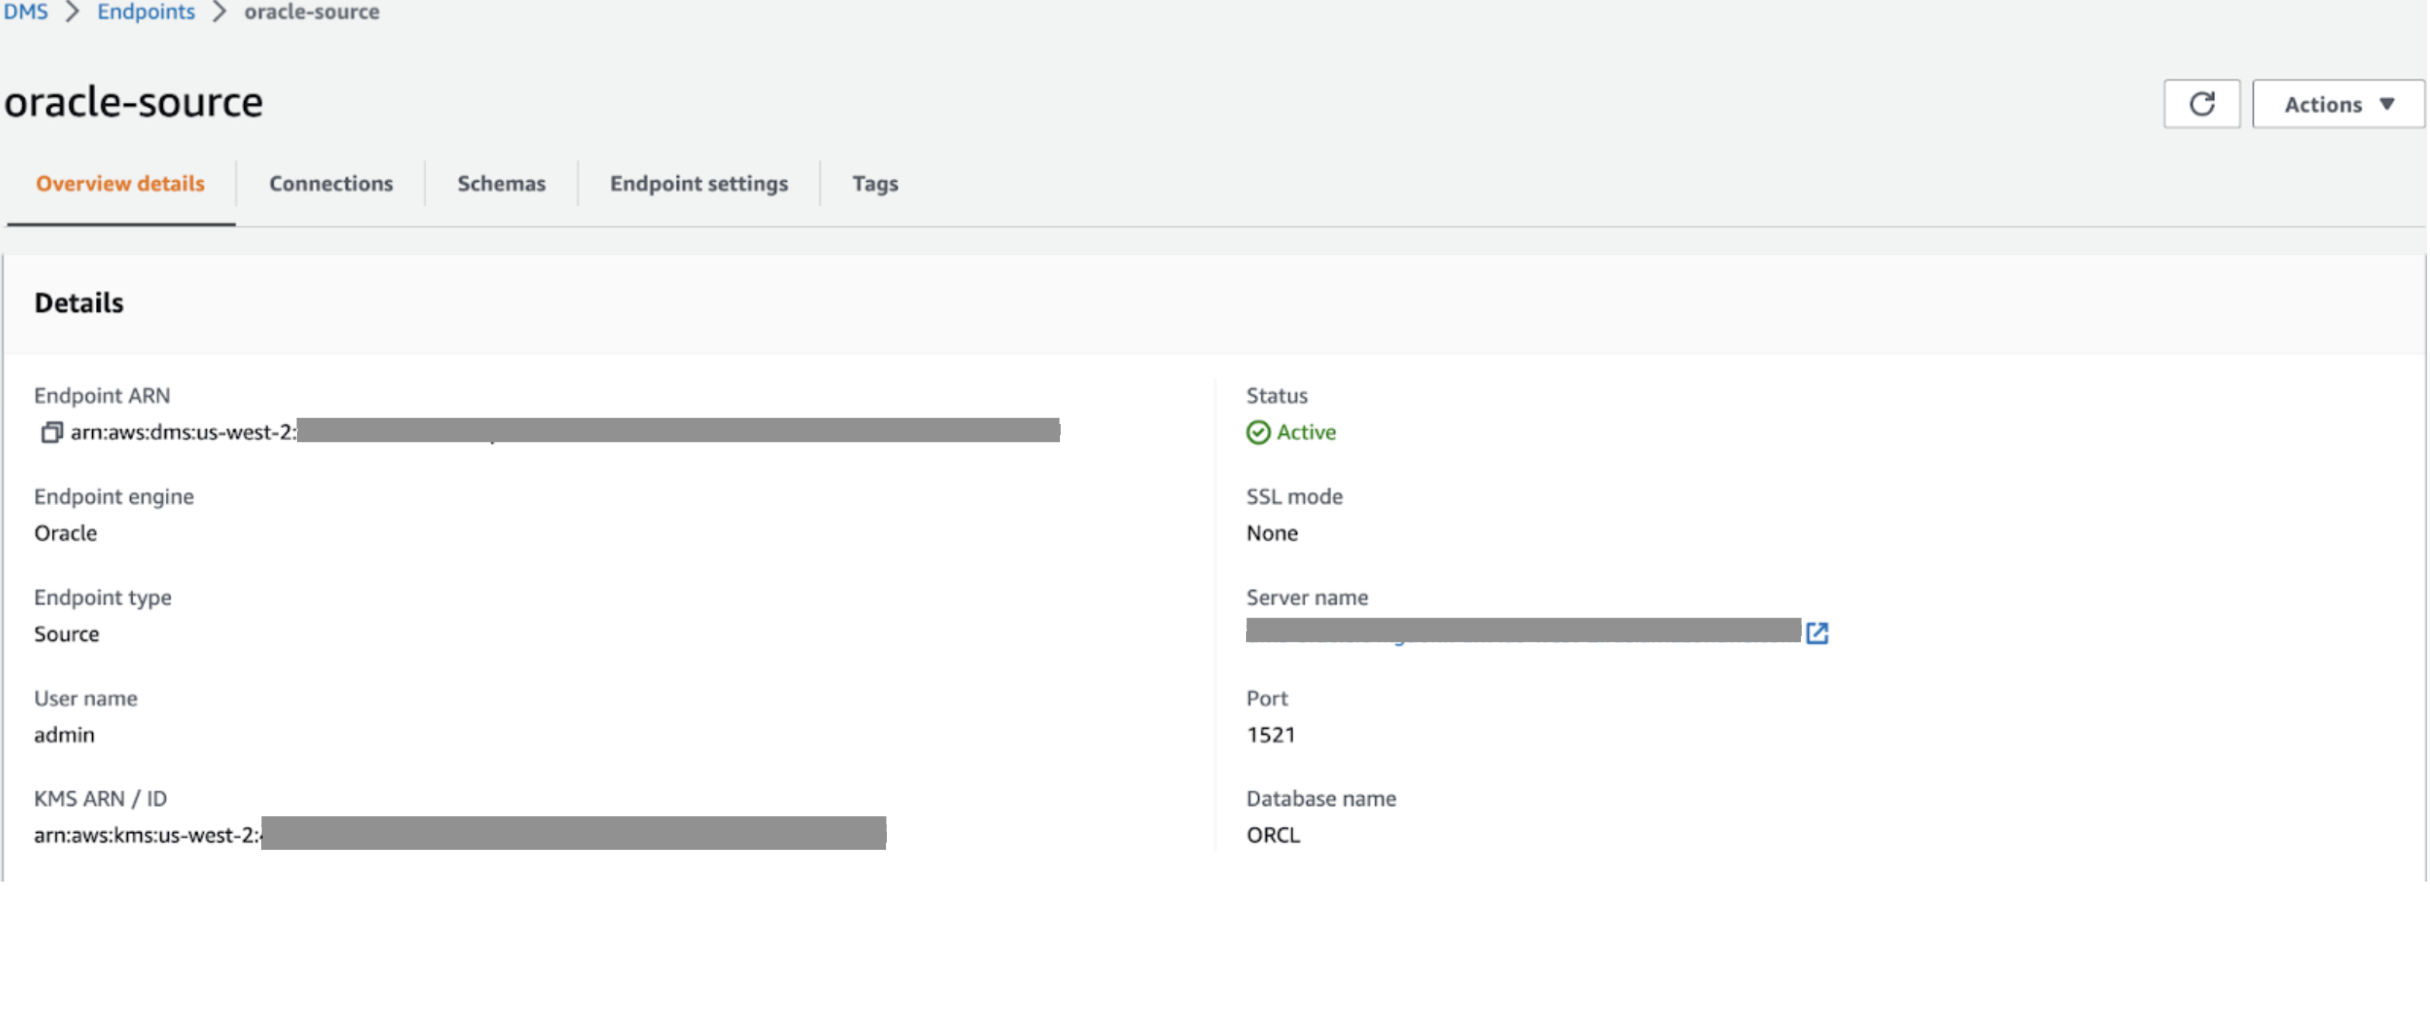
Step 6. Create DMS endpoints
In the AWS DMS console, click the
Endpointsmenu item on the left pane.Create the Oracle source endpoint and the TiDB target endpoint.
The following screenshot shows the configurations of the source endpoint.
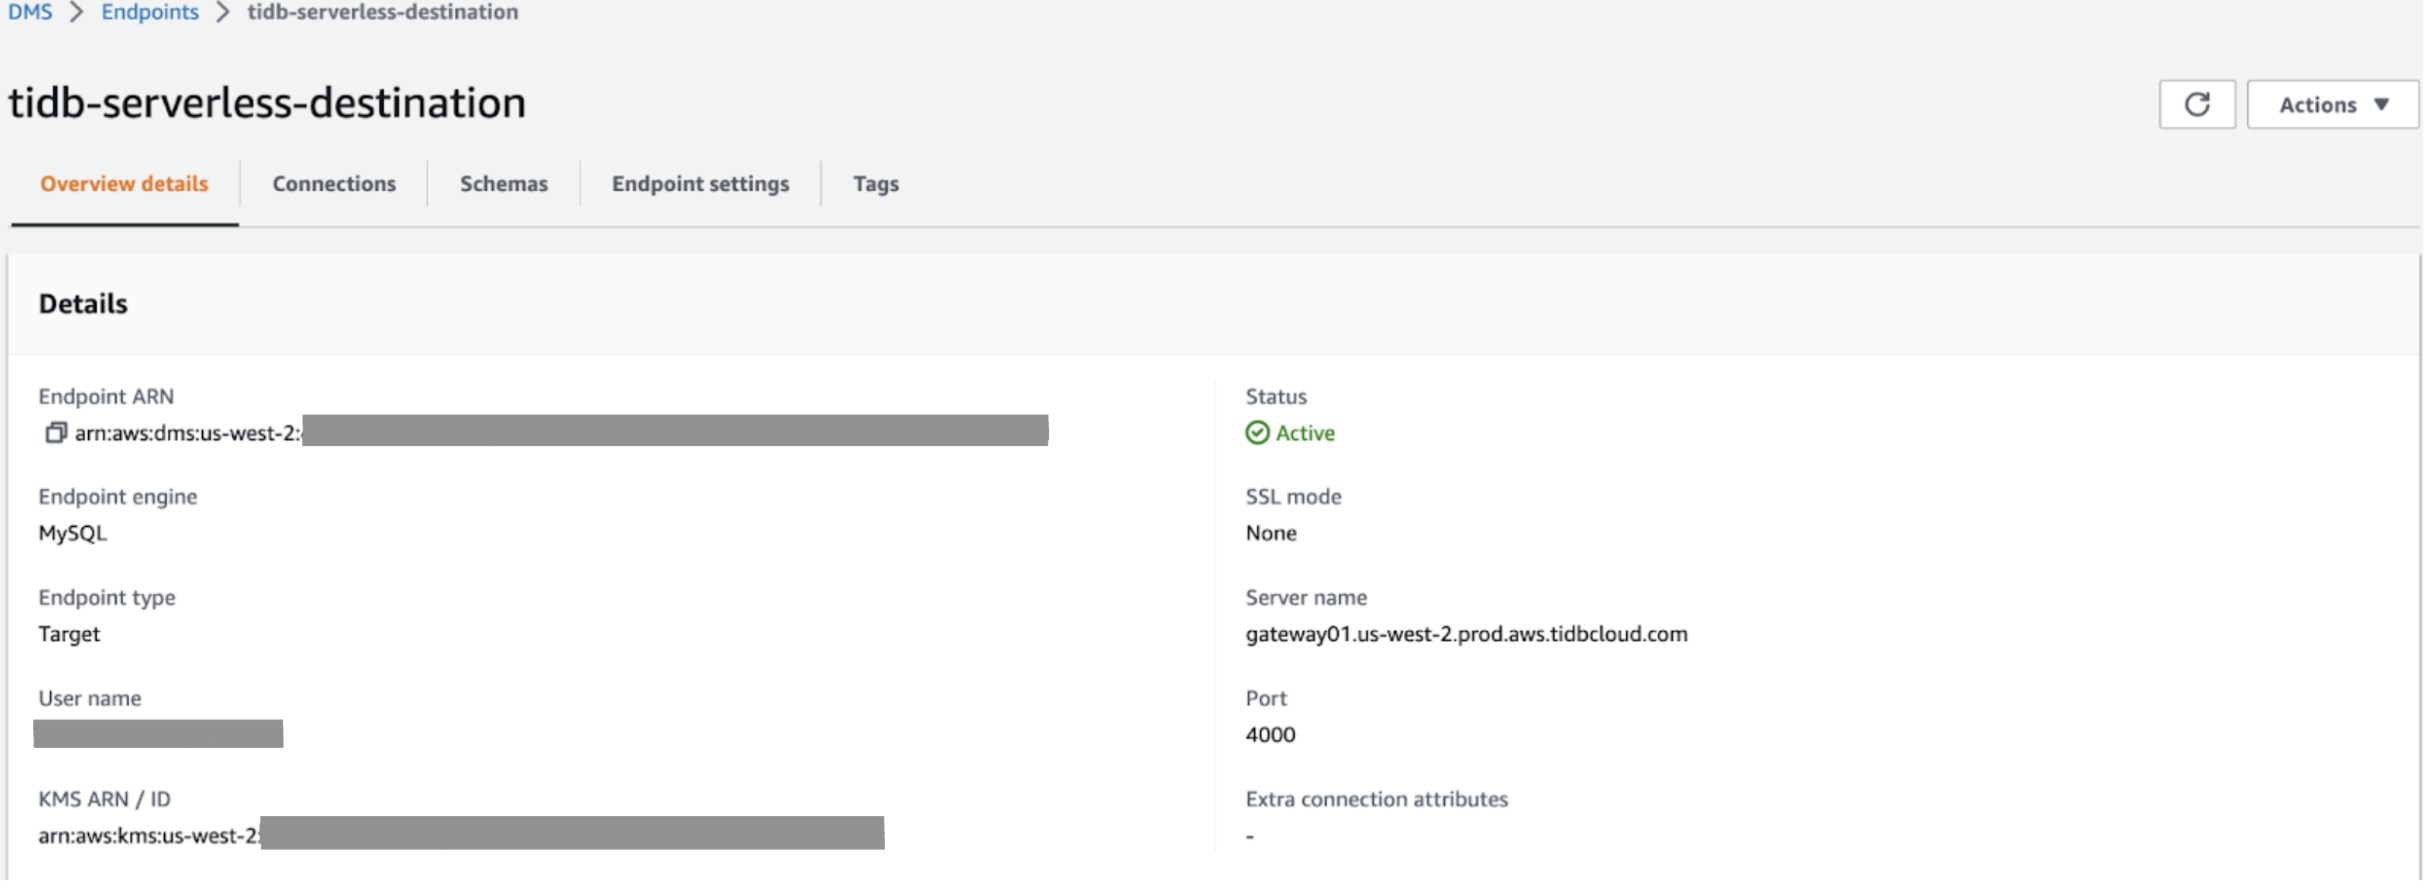
The following screenshot shows the configurations of the target endpoint.
Step 7. Migrate the schema
In this example, AWS DMS automatically handles the schema, since the schema definition is simple.
If you decide to migrate schema using the AWS Schema Conversion Tool, see Installing AWS SCT.
For more information, see Migrating your source schema to your target database using AWS SCT.
Step 8. Create a database migration task
In the AWS DMS console, go to the Data migration tasks page. Switch to your region. Then click Create task in the upper right corner of the window.

Create a database migration task and specify the Selection rules:
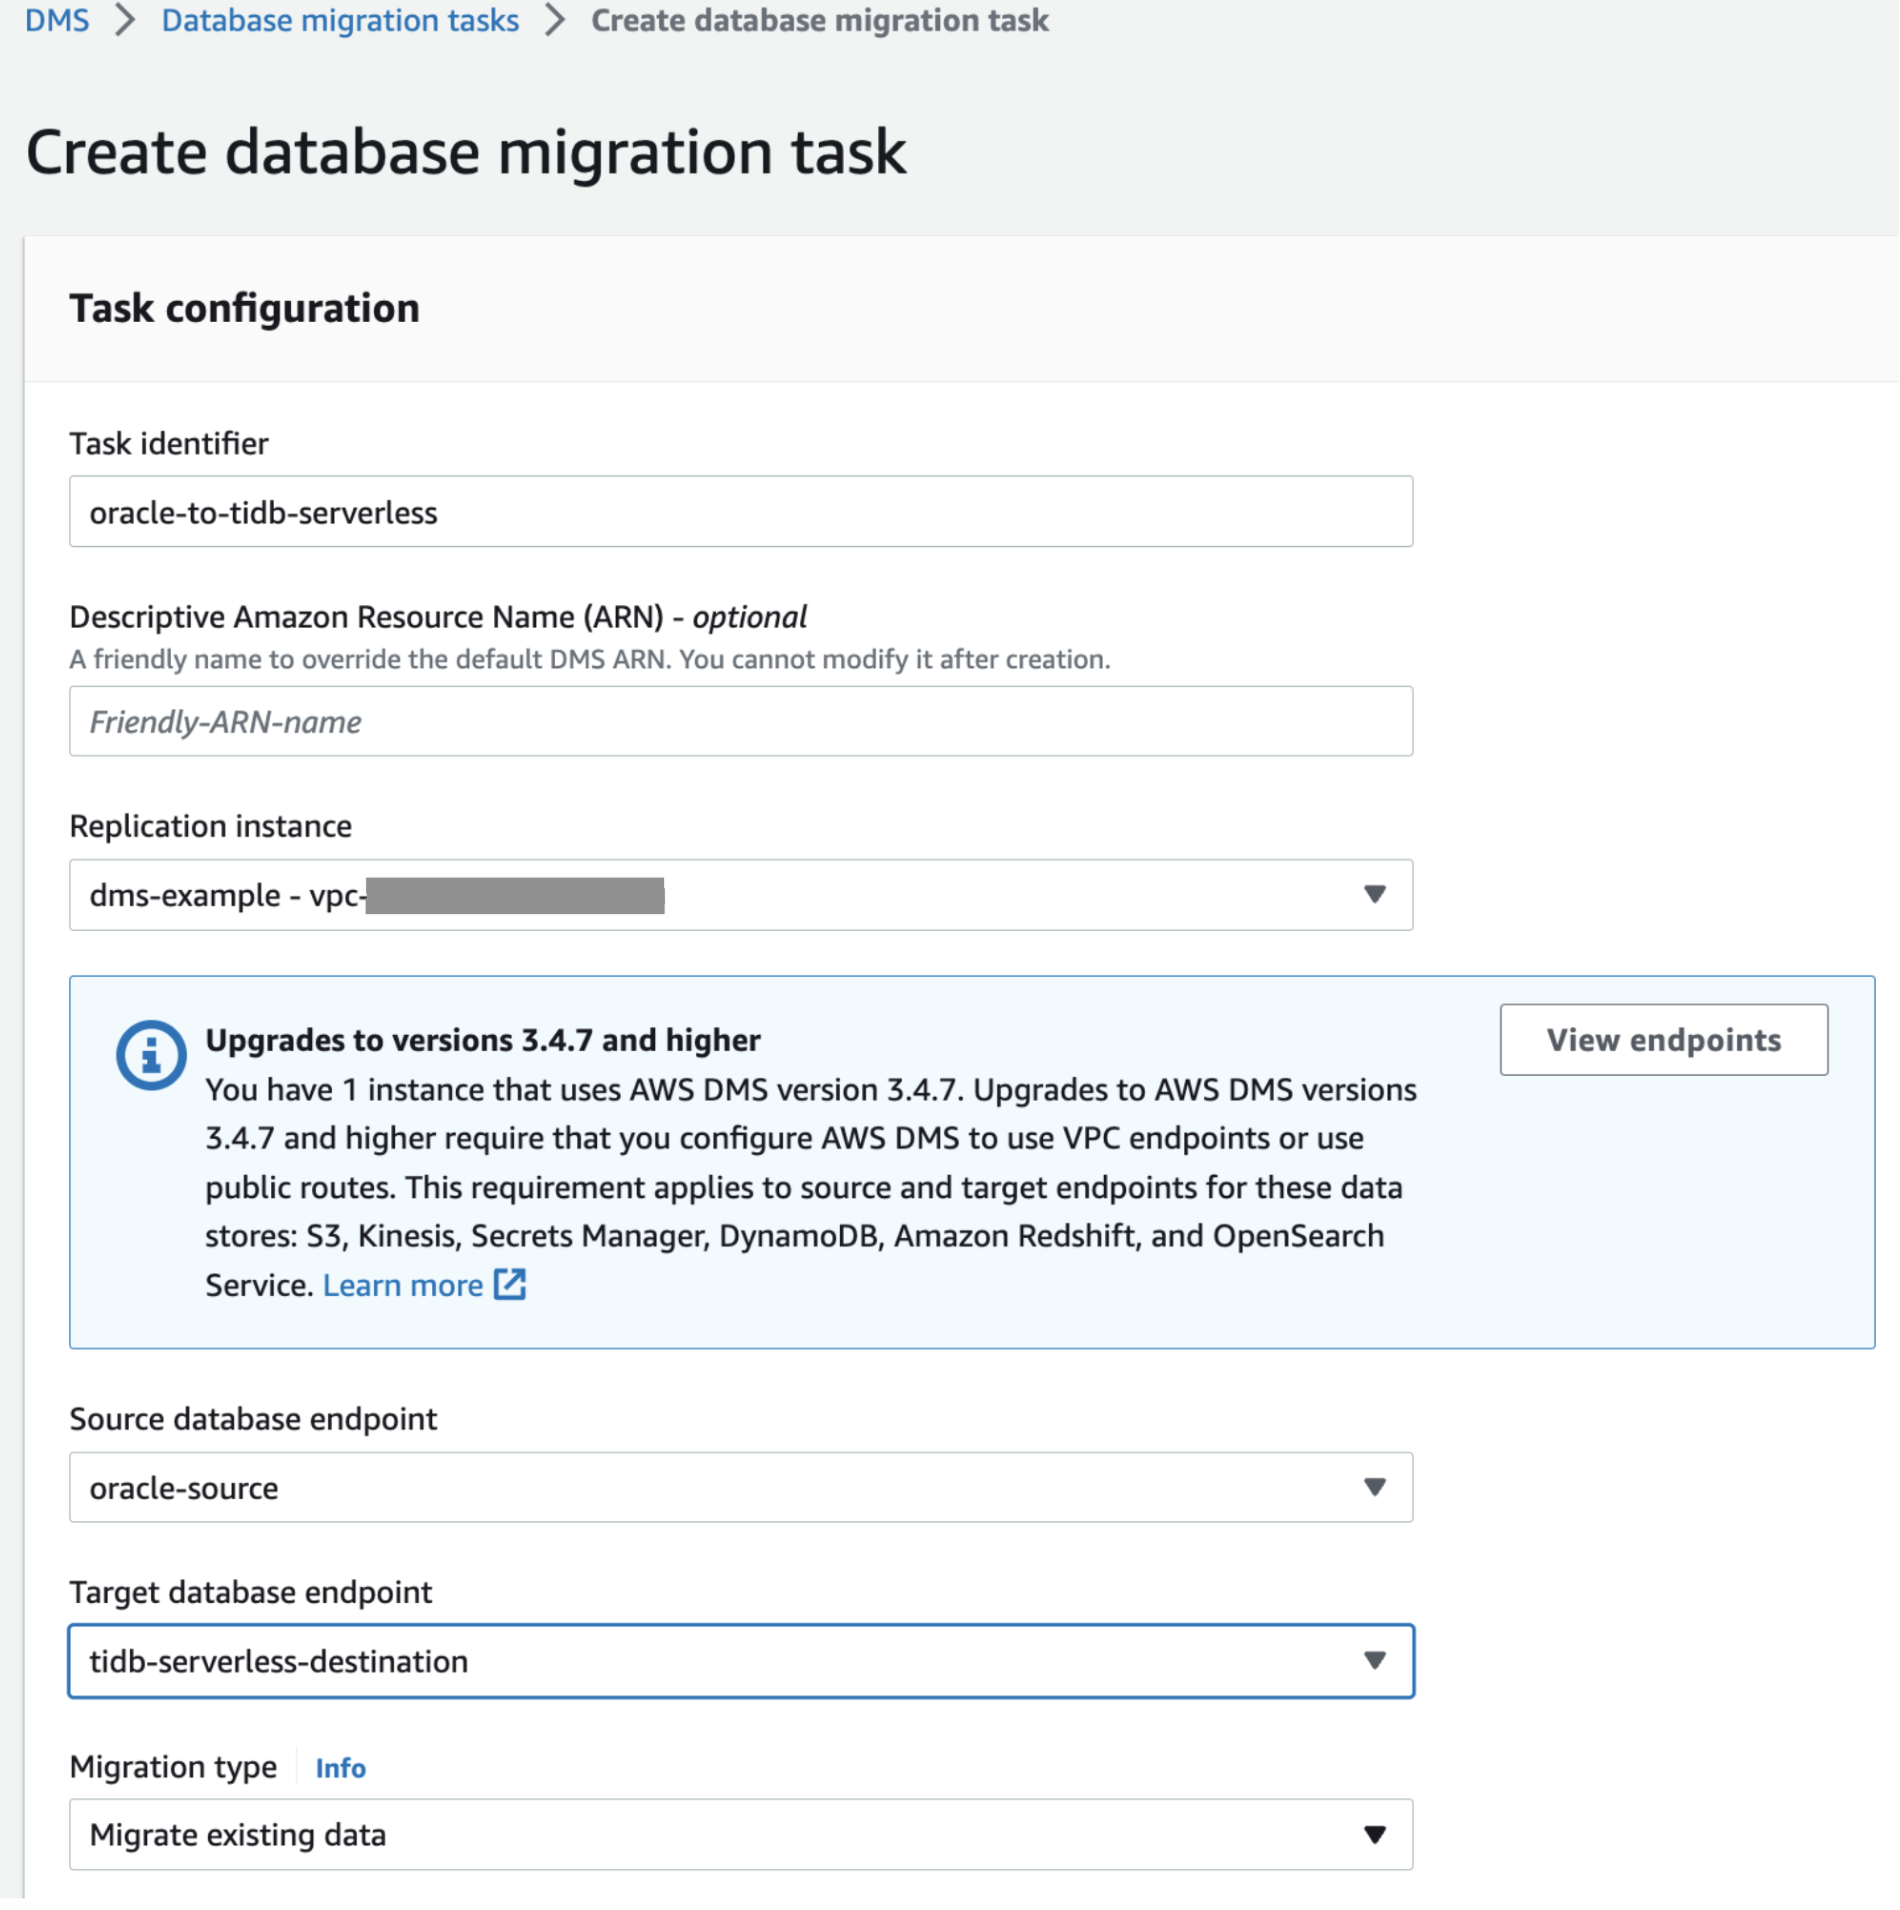
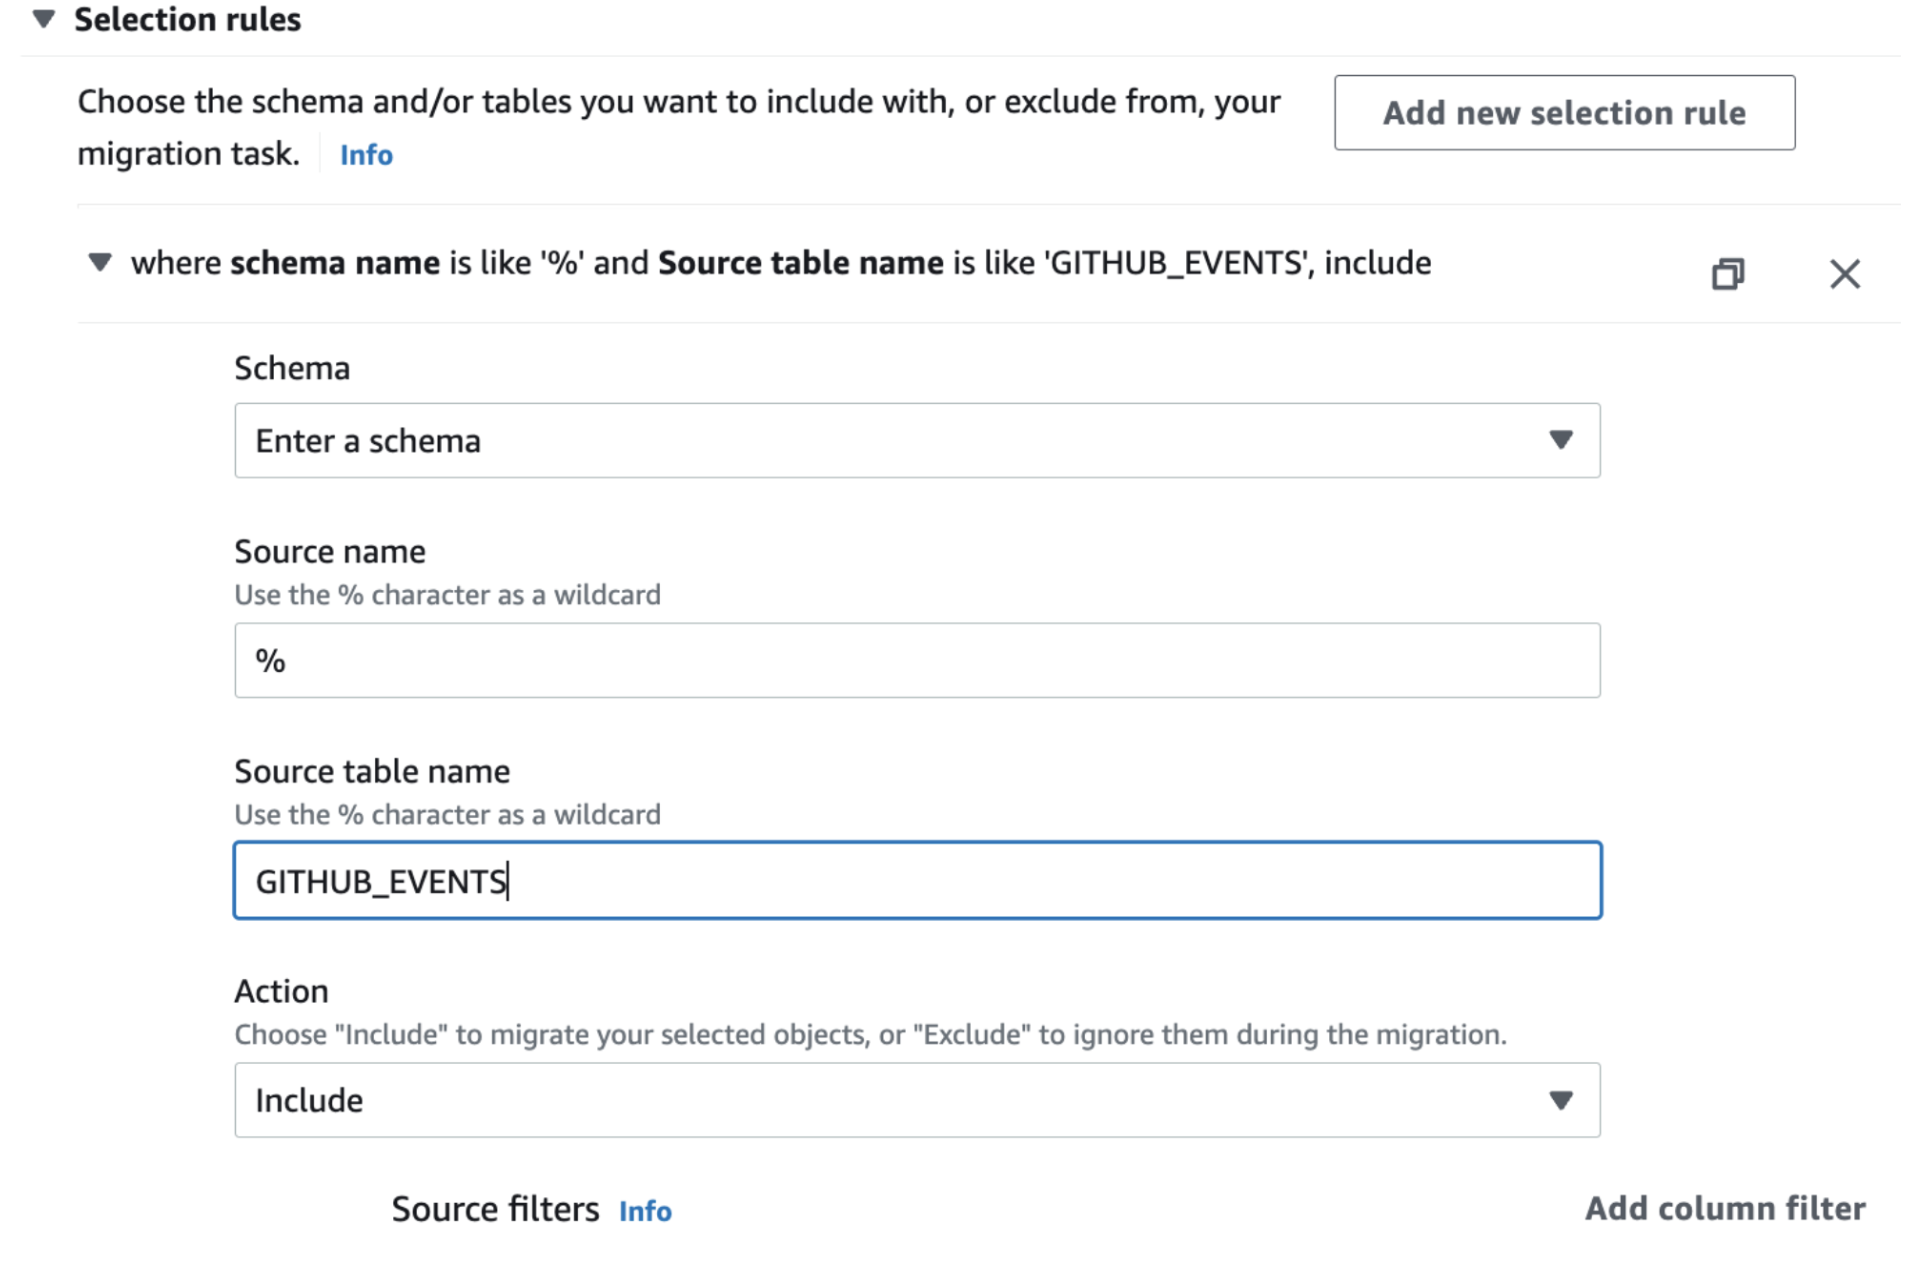
Create the task, start it, and then wait for the task to finish.
Click the Table statistics to check the table. The schema name is
ADMIN.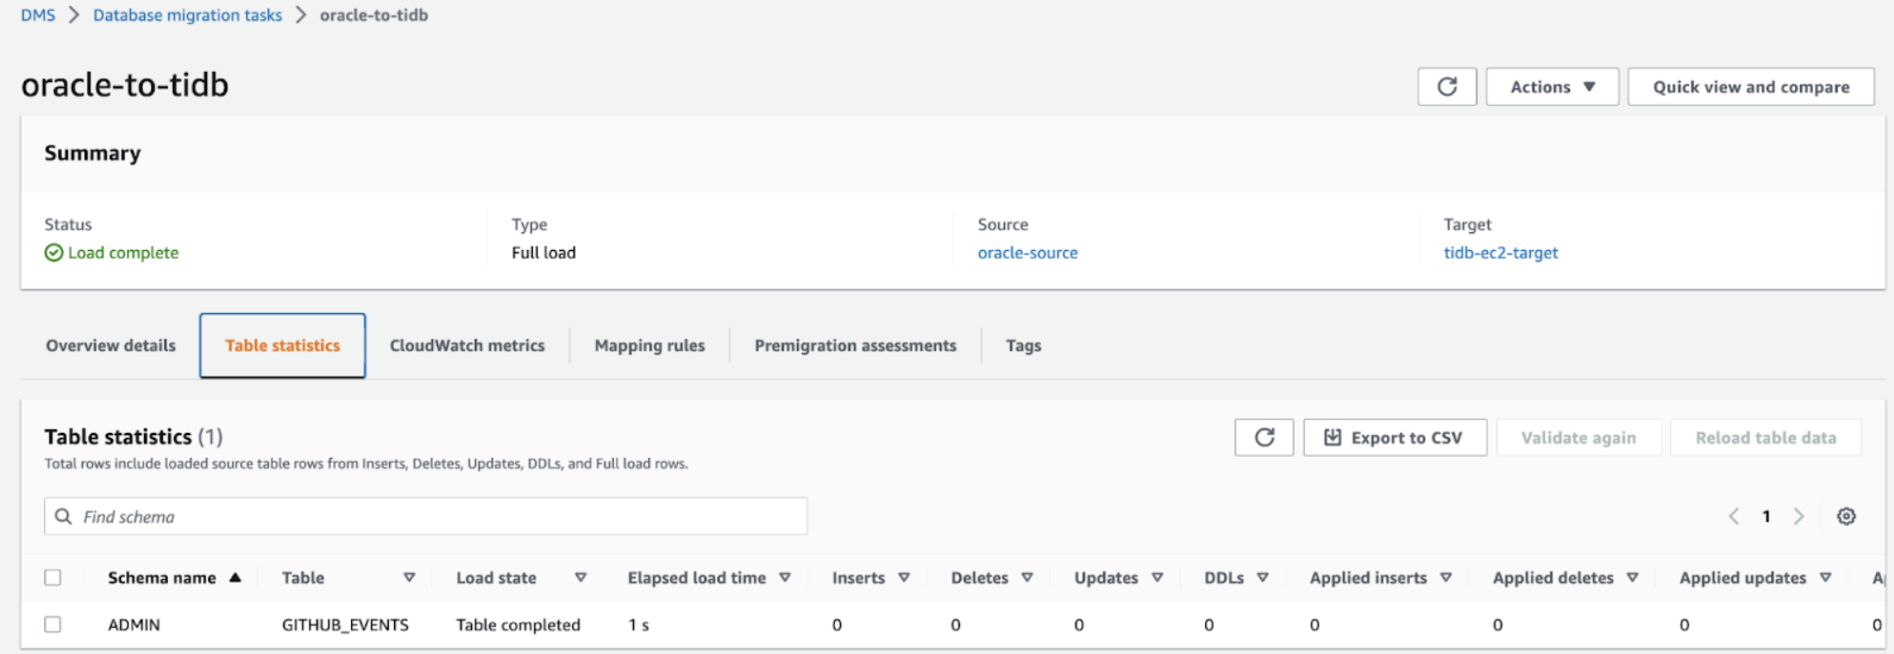
Step 9. Check data in the downstream TiDB cluster
Connect to the TiDB Cloud Starter cluster and check the admin.github_event table data. As shown in the following screenshot, DMS successfully migrated table github_events and 10000 rows of data.

Summary
With AWS DMS, you can successfully migrate data from any upstream AWS RDS database following the example in this document.
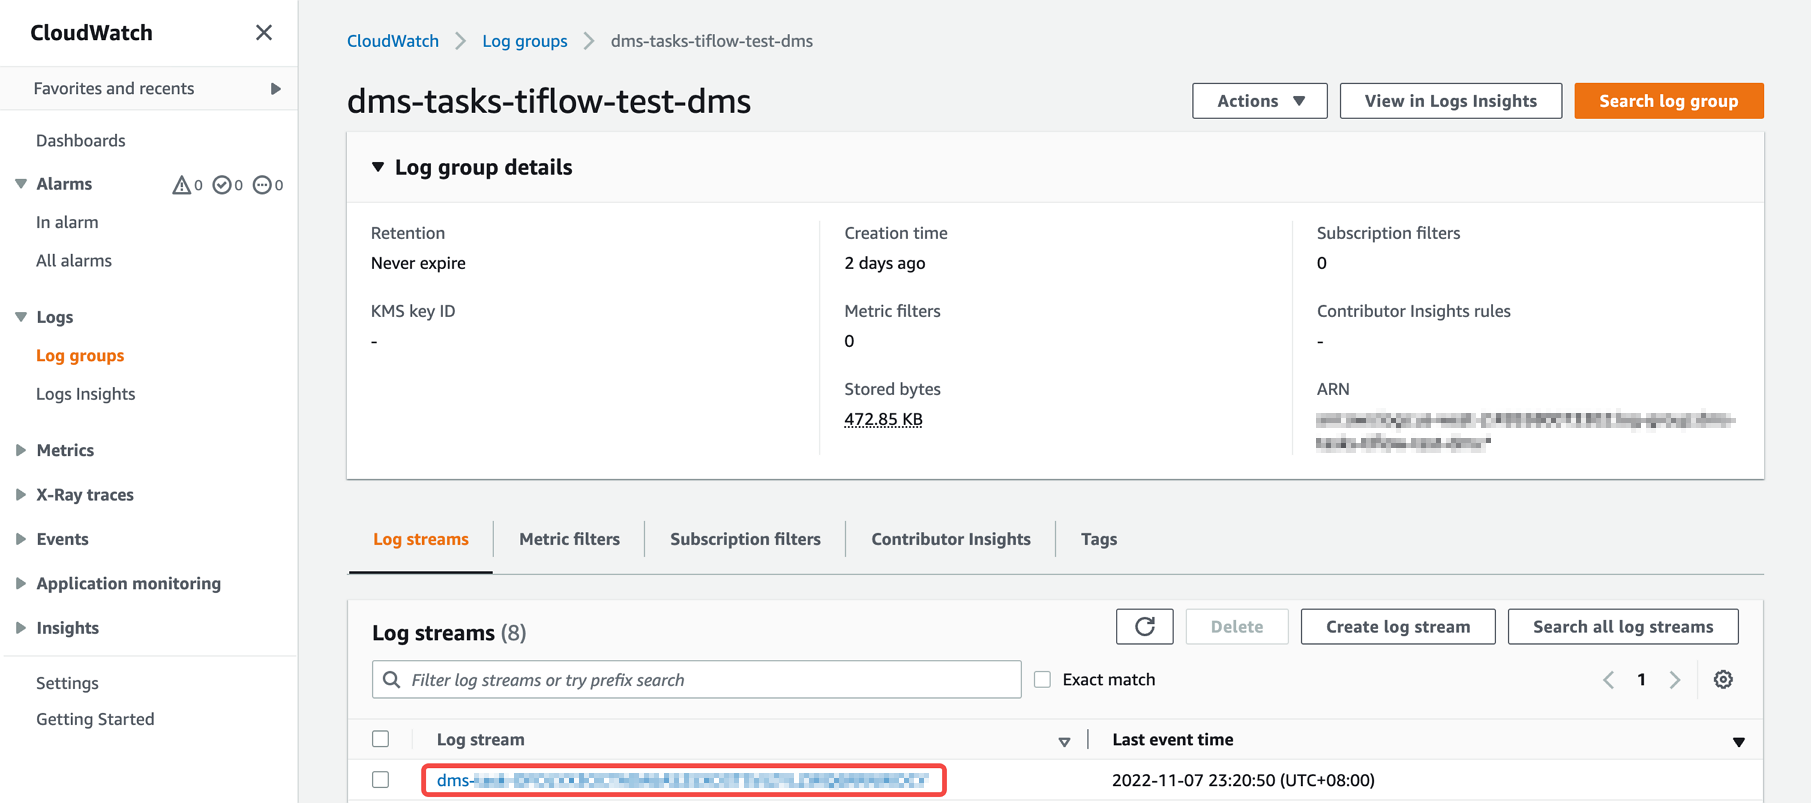
If you encounter any issues or failures during the migration, you can check the log information in CloudWatch to troubleshoot the issues.
